Commercial Account Setup
How to create and log in to a Game Warden account for commercial deployments.
Game Warden enables you to deploy your application to a commercial network using a secure, managed deployment environment with built-in compliance support. This guide walks you through setting up your account and getting started.
Create your account
-
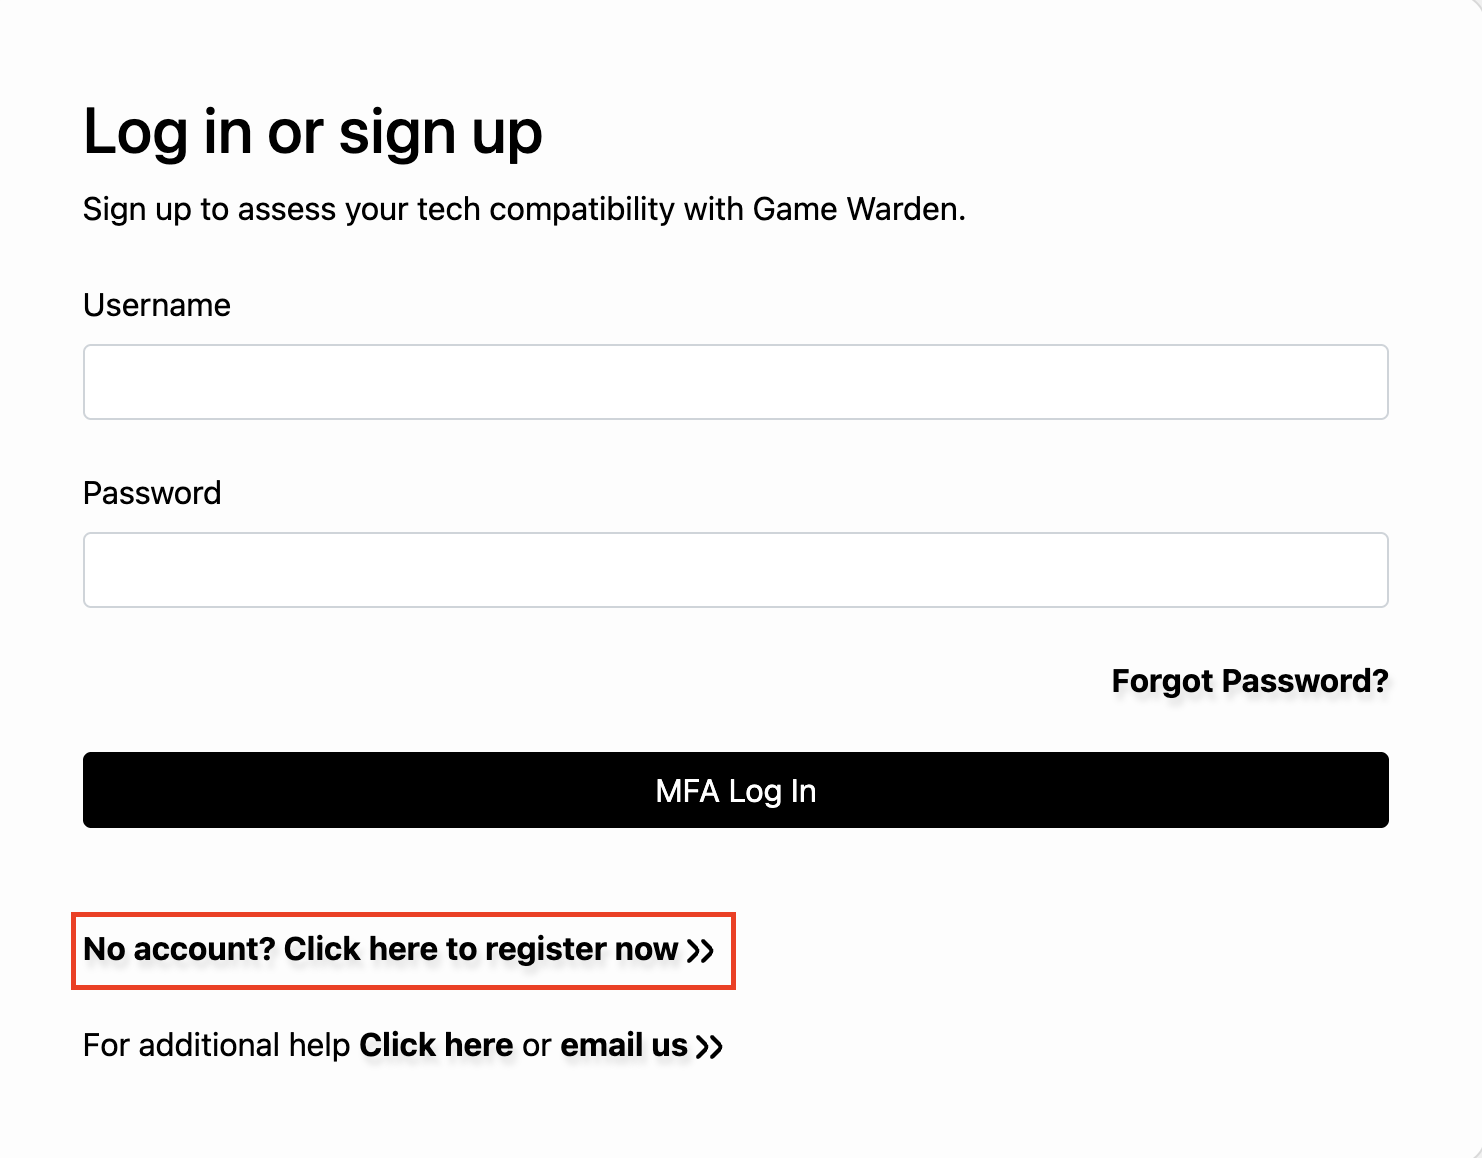
Visit Game Warden for Commercial Deployment, then click No account? Click here to register now.
-
On the Regular User Registration page, enter the following:
- Your first name and last name.
- Select the organization your affiliation belongs to; otherwise, select Other.
- Select your rank or pay grade. The military organizes ranks by service branch, and civil service grades range from AA to SCS. Select N/A if none apply.
- Enter your organization name.
- Enter a username and your work email address.
- Optionally, provide an access note. This allows administrators assign the appropriate access.
- Create and confirm your password.
-
Click Register.
-
When prompted, complete the multi-factor authentication process:
- Install an authentication app (for example, FreeOTP, Microsoft Authenticator, or Google Authenticator) on your mobile device.
- Open the app and scan the QR code displayed on the screen.
- Enter the current code from your authenticator app into the Six digit code field, and optionally provide the device name to manage your OTP devices.
- Click Submit.
-
Review the consent form and click Accept to continue.
-
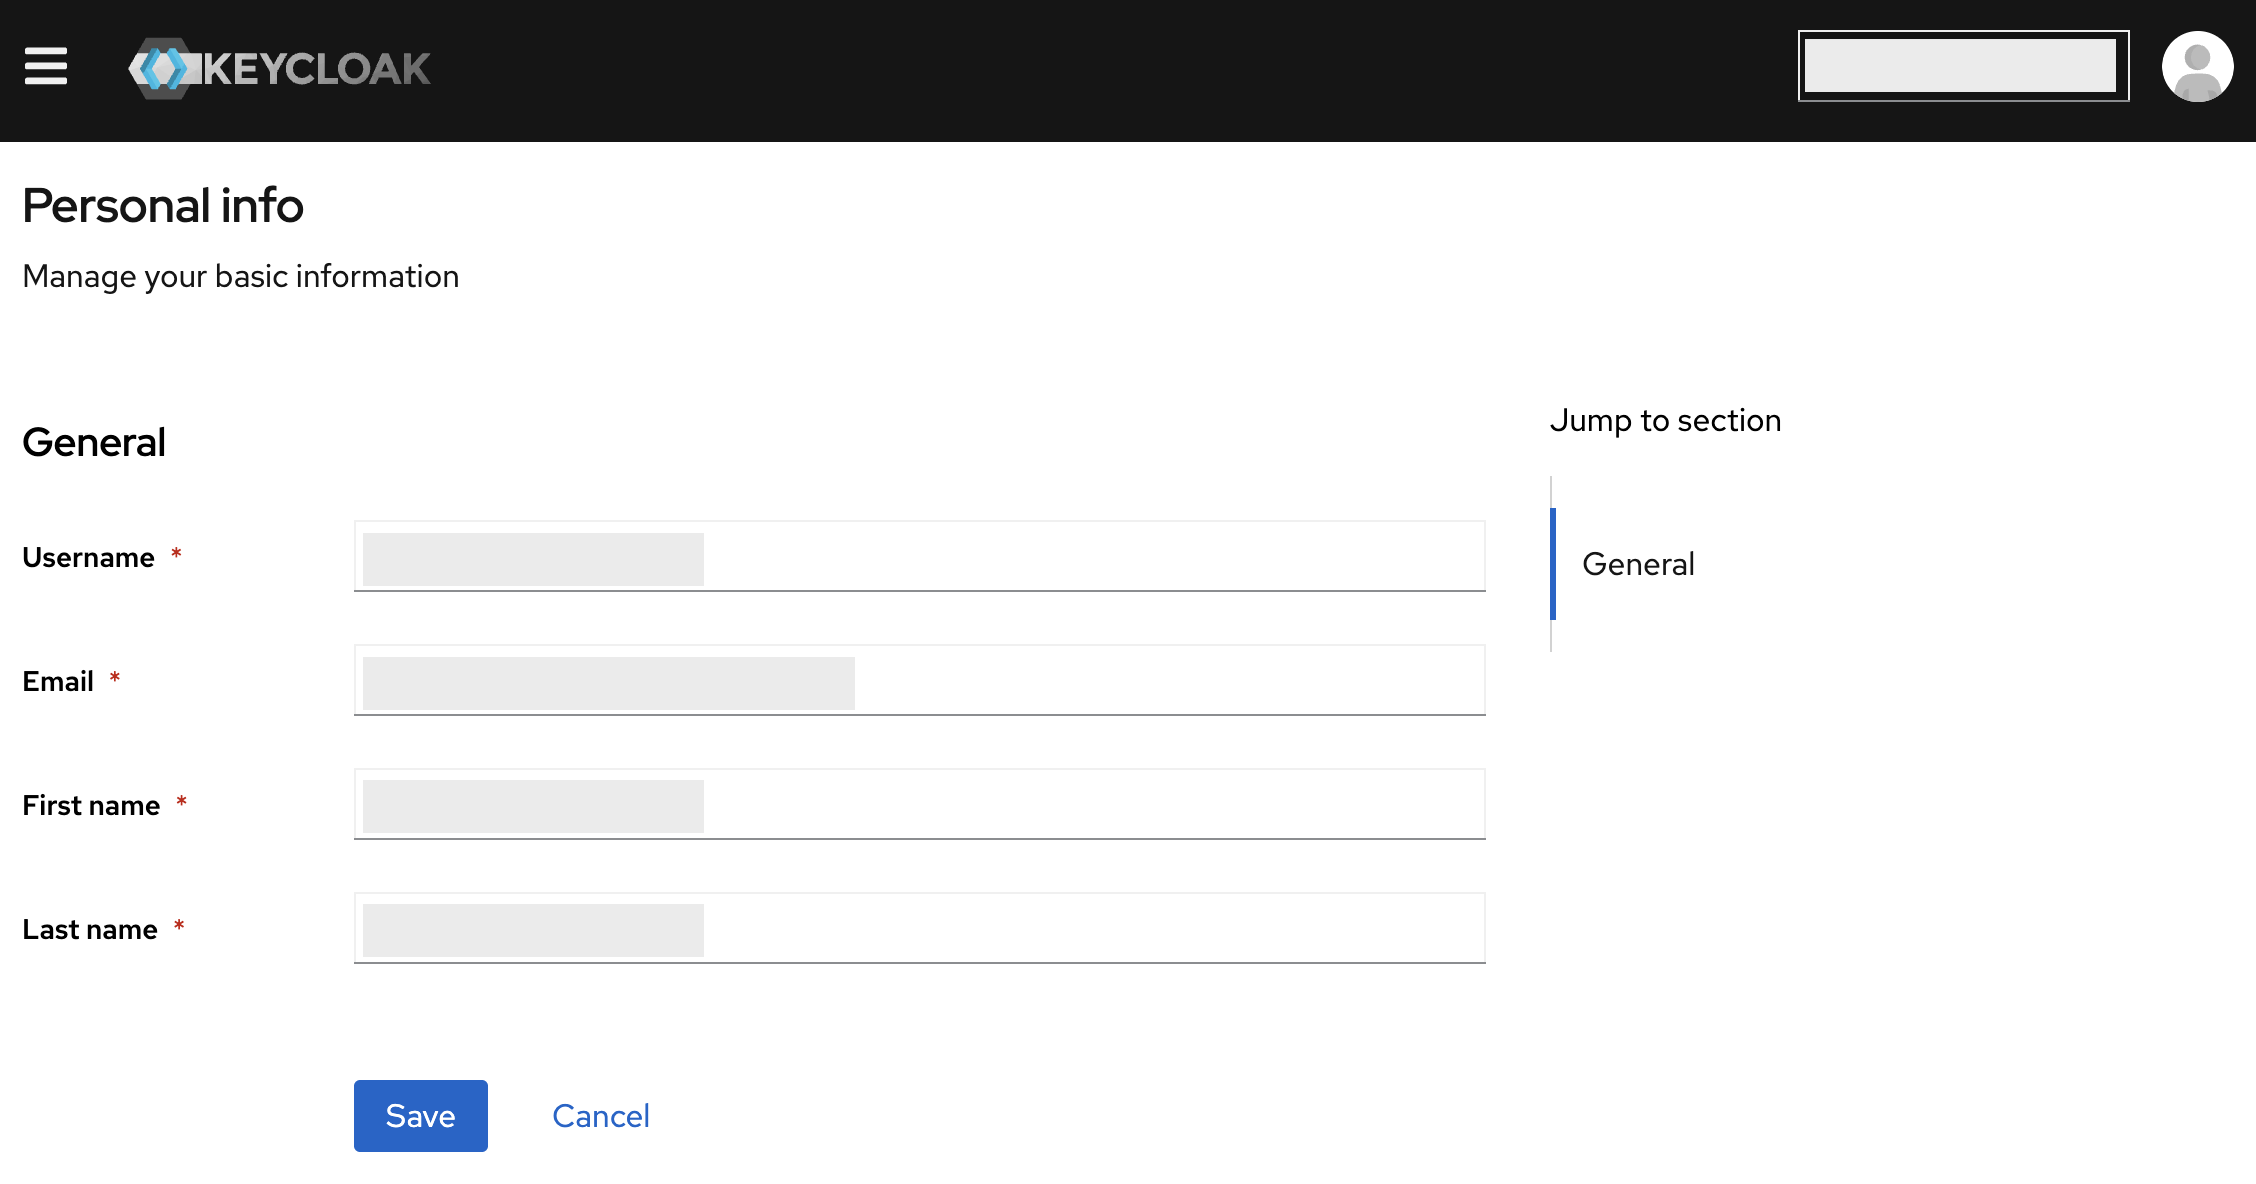
On the Keycloak Personal Info page, confirm your information and click Save.
Log in to your account
- After Second Front sets up your account, visit Game Warden for Commercial Deployment.
- Enter the username and password you created during registration.
- Click MFA Log In.
- Enter the current code from your authenticator app and click MFA Log In.
- Review the consent form and click Accept to access the Game Warden app.
- Forgot your password? Click Forgot Password? on the login page to reset your password.
- Need more help? Use the Click here or email us links at the bottom of the page.
- Keep your MFA method private and secure.
- Always log out when you're away from your computer or working on a shared device.
Add your team to Game Warden
Users with the Customer Admin role can invite team members by following these steps:
- In the left sidebar, go to the Company Profile tab.
- Select the option to invite a new team member.
- Enter the team member's email address and name, then click Invite Team Member.
If your team member's email domain is different from yours, contact your Mission Success Manager for assistance.
Add Customer Admin privileges to team members
Users with the Customer Admin role can grant Customer Admin privileges to other team members:
- In the left sidebar, go to the Company Profile tab.
- Search for the team member by name and click the option menu (⋮).
- Select Edit.
- In the modal, go to the Roles section and click Make user a Customer Admin.
- Submit the changes.
The team member receives Customer Admin permissions and can perform all administrative functions within your organization.
Customer and Customer Admin permissions
The table below outlines the capabilities available to each role:
| Capability | Customer | Customer Admin |
|---|---|---|
| Submit tickets | ✅ | ✅ |
| Access scan results | ✅ | ✅ |
| Download scan artifacts | ✅ | ✅ |
| Delete deployments | ❌ | ✅ |
| Set up Harbor credentials | ❌ | ✅ |
| Fill out Body of Evidence forms | ✅ | ✅ |
| Resolve vulnerabilities | ✅ | ✅ |
| Deploy images | ❌ | ✅ |
Customer Admins have exclusive access to administrative functions like deleting deployments, configuring Harbor credentials, and deploying images, while regular customers focus on operational and compliance activities like submitting tickets and resolving vulnerabilities.
Remove a team member from your Game Warden app
Users with the Customer Admin role can remove a team member by following these steps:
- In the left sidebar, go to the Company Profile tab.
- Search for the team member by name and click the option menu (⋮).
- Select Remove User.